Using chinelog offcut to mark bulkhead.
Clamp Girl preparing to fit stem.
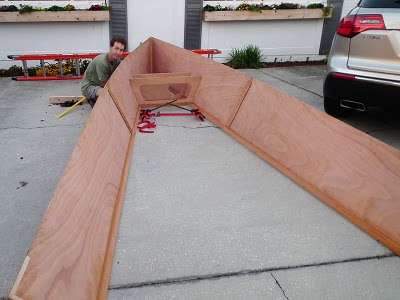
We found it much easier to attach the hull sides to the stem with the hull sides spread apart to the stem angle. Had to move outside to get the room.
Stem screwed on and bulkheads ready to go.
First bulkhead is in. It required considerable force to curve the hull sides around it. We first screwed the bulkhead to one hull side then brought the hull sides together by using a ratchet strap from chine to chine. We clamped a clamp to each chine and then attached the ratchet strap hook to each clamp. This worked extremely well and allowed the hull sides to be slowly brought together with little drama except for some scary creaking sounds from the stem. Some folks reported having trouble with the hull sides cracking a bit just aft of the stem during this procedure so we left two clamps around the base of the stem to help the screws hold things together. We got a small crack in the first two inches of one chinelog but it closed back up once the rest of the bulkheads were installed. A bit of epoxy will take care of that.
Screwing bulkheads in.
You can see the clamps and ratchet strap used to pull the hull sides around the second bulkhead.
The bulkhead bevels specified in the plans are dead on perfect. I have to touch up one bevel but otherwise they all fit great.
It is amazing to watch the flat ply take on such a graceful curve once persuaded around the bulkheads.
We ran out of daylight but the dry fit is complete.
Transom required the clamp and ratchet strap treatment.
Total time to date: 195hrs


No comments:
Post a Comment